
...
At U-hid page says that you could set them as "mouse axis"Originally Posted by thelpb

...

Results 21 to 30 of 109
-
08-10-2010, 04:39 AM #21MudoGuest

-
08-10-2010, 09:05 AM #22Tech Wizard

- Join Date
- Jul 2010
- Posts
- 33
No way to seperate mouse input within Windows and no way to bind a particular axis to a particular deck within Traktor Originally Posted by Mudo

However, I am now searching for a different solution. I already had the first Powermate from a while back, but I didn't know until today that Griffin doesn't sell them anymore.
Ordered some more parts from Sparkfun:
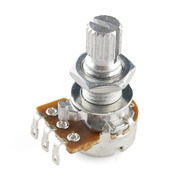
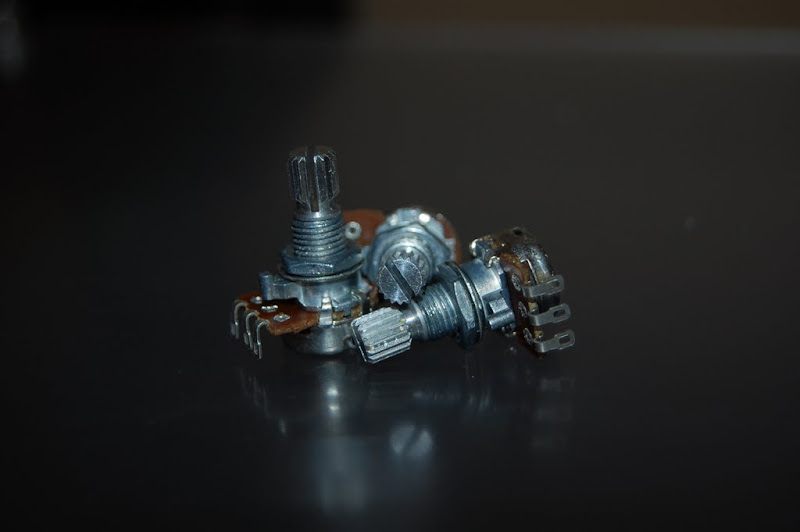
14x Rotary Potentiometer - 10k Ohm, Linear
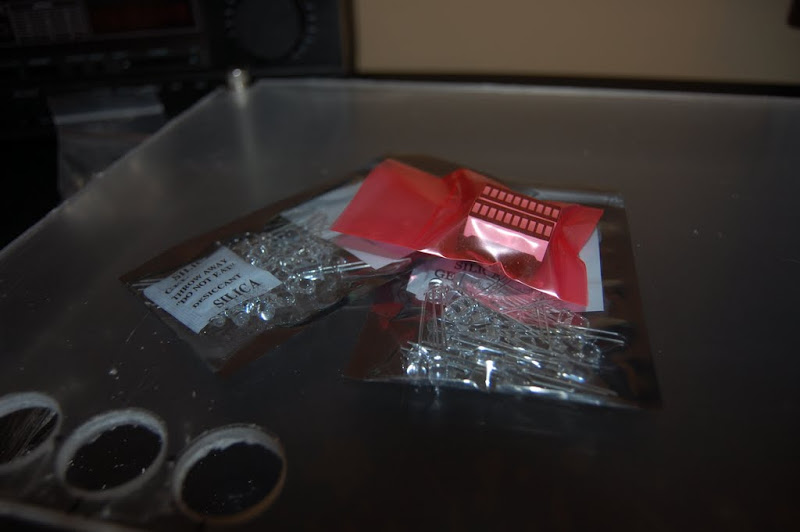
25x Blue & 25x Green Superbright LEDs

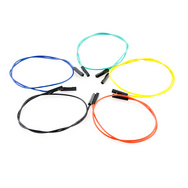
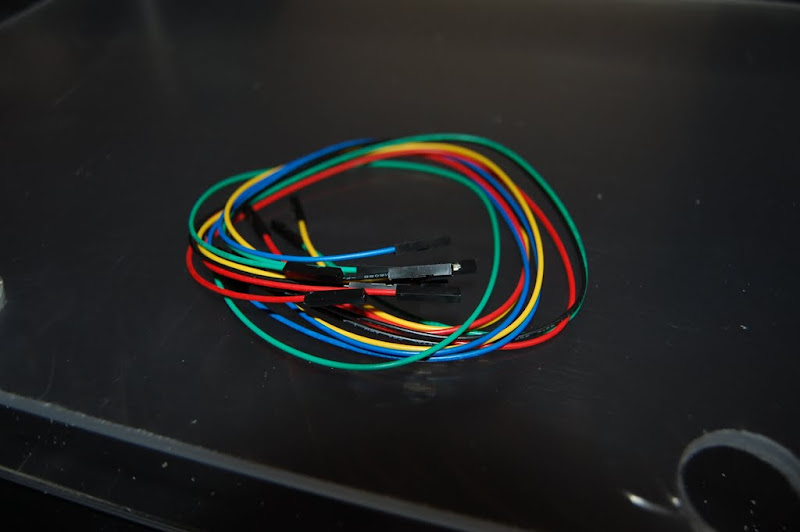
2x sets of 10 .1" Hookup Wires
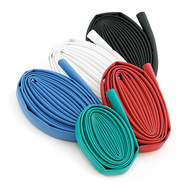
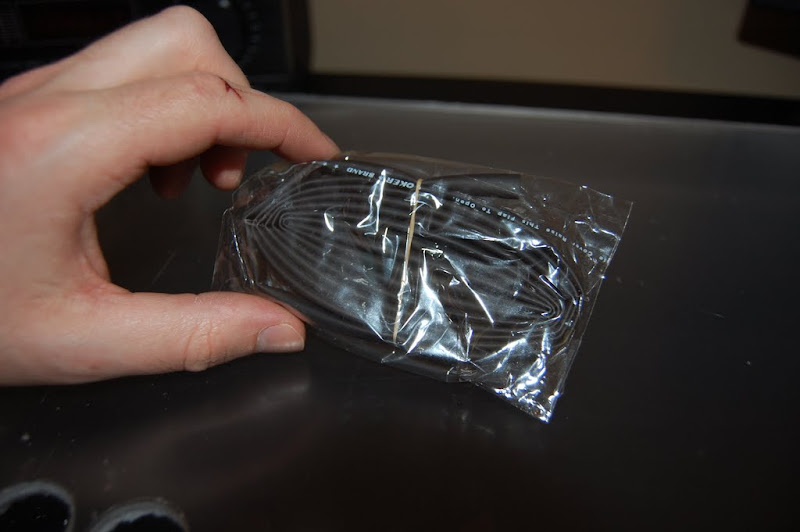
5' x 1/4" Heat Shrink Tubing
2x 10 Segment Blue LEDs
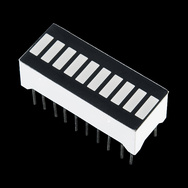
The 10 Segment LEDs will be incorporated into a VU meter at some point. They're pretty cheap from Sparkfun, so I ordered them now since I was grabbing other stuff anyways.
I updated the original post a bit with some more information and to reflect the new parts.Last edited by thelpb; 08-10-2010 at 09:25 AM.
-Matt Z
DIY'er - Gadget Freak - Gearhead
-
08-10-2010, 09:44 AM #23
 DJTT Infectious Moderator

- Join Date
- Apr 2010
- Location
- Sherman, TX
- Posts
- 13,925
God I love Sparkfun!!
-
08-10-2010, 10:06 AM #24Tech Mentor

- Join Date
- Jun 2010
- Location
- New Jersey/NYC
- Posts
- 388
Sparkfun sounds cool...

www.glitchmatrix.com
www.facebook.com/glitchmatrixdjs
twitter: @glitchmatrixdjs
www.soundcloud.com/glitchmatrixdjs
www.mixcloud.com/glitchmatrix
-
08-10-2010, 12:03 PM #25Tech Guru

- Join Date
- May 2009
- Location
- Brighton / Bangkok
- Posts
- 1,386
how are you getting around the windows limitation of 8 analogue inputs (potentiometer) via HID usb? it looks like you're planning on using more than 8?
-
08-10-2010, 12:52 PM #26Tech Guru

- Join Date
- Apr 2010
- Location
- Dallas, TX
- Posts
- 798
I love you.
Traktor/Itch: Xone Dx - MidiFighter x1
Ableton: Livid Code - iPad - KP3
Tech: Macbook Pro 17", intel i7, 8gb RAM, 500gb HD 7200RPM
-
08-10-2010, 02:06 PM #27Tech Wizard
- Join Date
- Jul 2010
- Posts
- 33
Originally Posted by photojojo
Sparkfun is definitely the place to go if you need parts! Originally Posted by jfd6812
Windows supports 8 inputs per joystick, this is true. But it ALSO supports multiple joysticks Originally Posted by MiL0

<3 Originally Posted by tyfurious
-Matt Z
DIY'er - Gadget Freak - Gearhead
-
08-10-2010, 06:03 PM #28MudoGuest
...
I understood at u-hid page that every spintrack will be a "separately" axis (mouse have two) and you could implement in their software the mouse function... Traktor doesn't permit mouse scratching? It could be possible make a "click macro" every time you touch the encoder (or put a capacitor over the scratchpad) that send this "stroke" (with click and window position) such as mouse scratching (but a bit accurate...)
Download the configurator program and check their possibilities before discard... if not I will help you in find new "core".
...
-
08-22-2010, 01:32 PM #29Tech Wizard
- Join Date
- Jul 2010
- Posts
- 33
Much progress this weekend. Received parts from Sparkfun and learned a few things the hard way about cutting 1/4 inch acryllic.
Sparkfun delivers!
10k Pots
Jumper Wires
LEDs
Heatshrink Tubing
--------------------
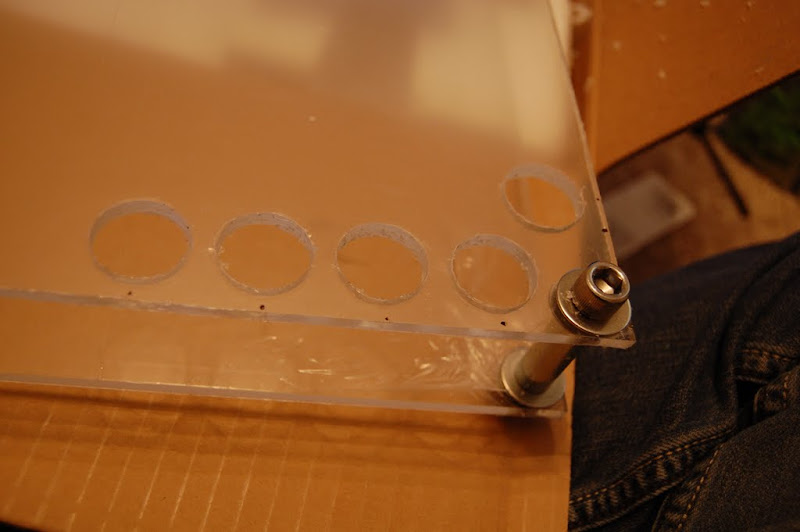
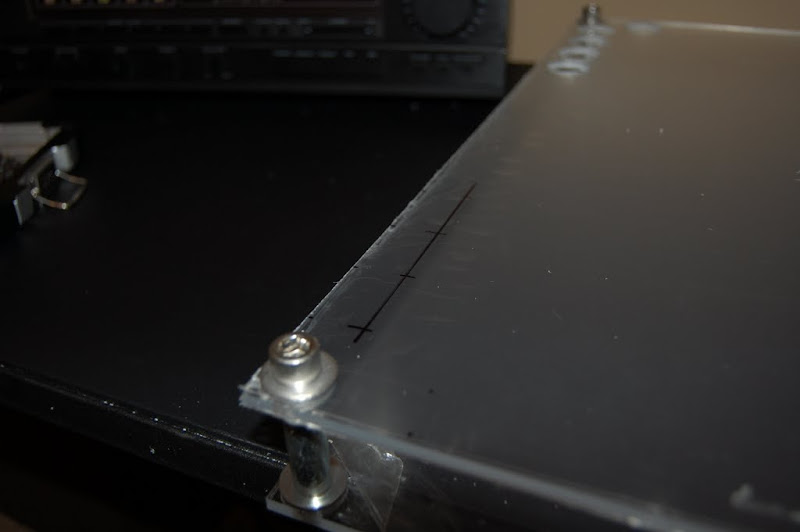
I started cutting the holes for the arcade buttons with an 1/8 inch pilot hole and then a 15/16 inch Speedbore on my drill.
Got the first 5 holes cut out no problem.

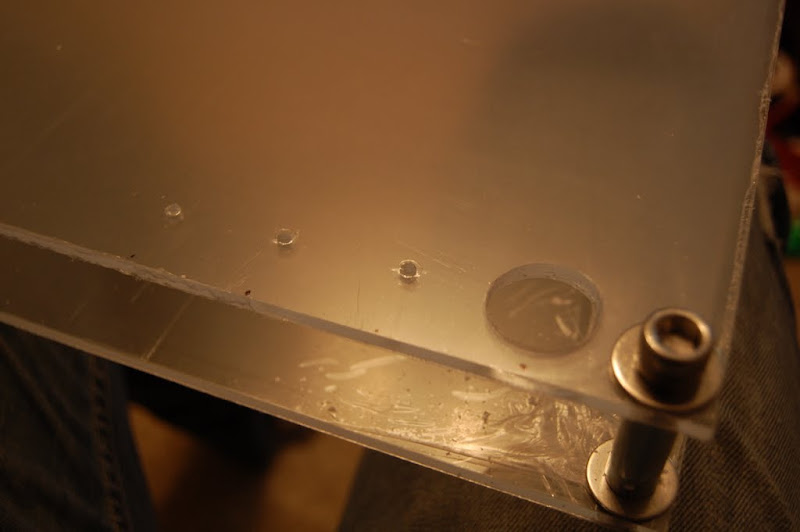
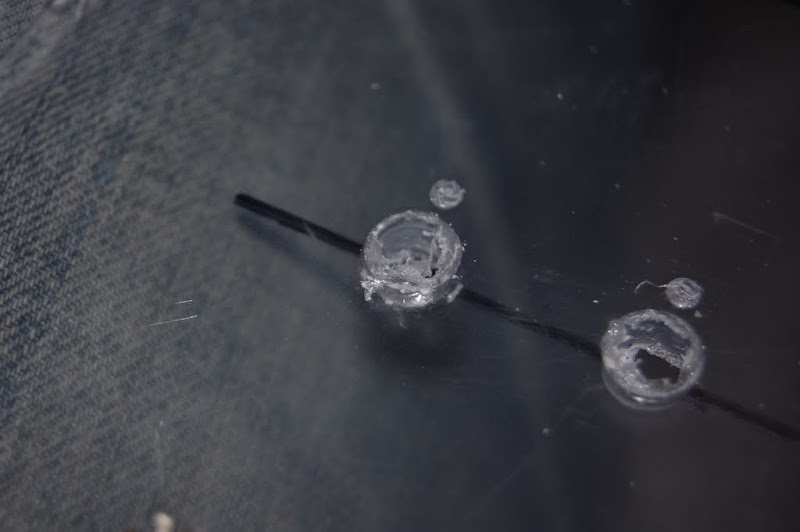
Then when I moved to the other side, this happened on the first one. It spidered across to one of the pilot holes I had drilled.

--------------------
So that kinda ruined my evening. Went to Lowe's a couple days later and bought another 24x18x1/4 inch sheet and had it cut in half like the first one. Now I have a spare if I trash the one I am working on! While I was at Lowe's I went ahead and picked up a 1 inch hole saw as well. The Speedbore was slow going and also is the reason the first panel was ruined.
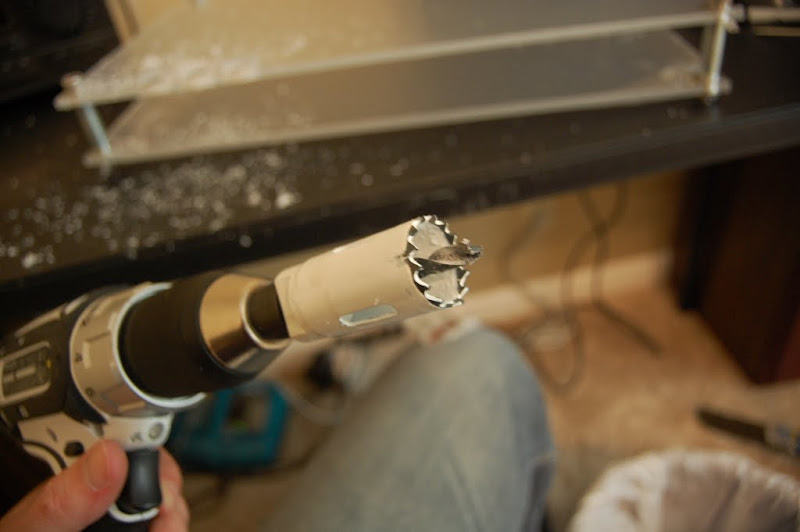
The difference between the holesaw and the Speedbore is amazing. Cutting the holes is a cakewalk and appears to be much less stressful on the panel.
So far so good...

Measuring the other side.
Success!


--------------------
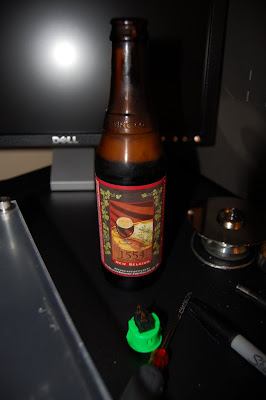
Time for a tasty beverage~
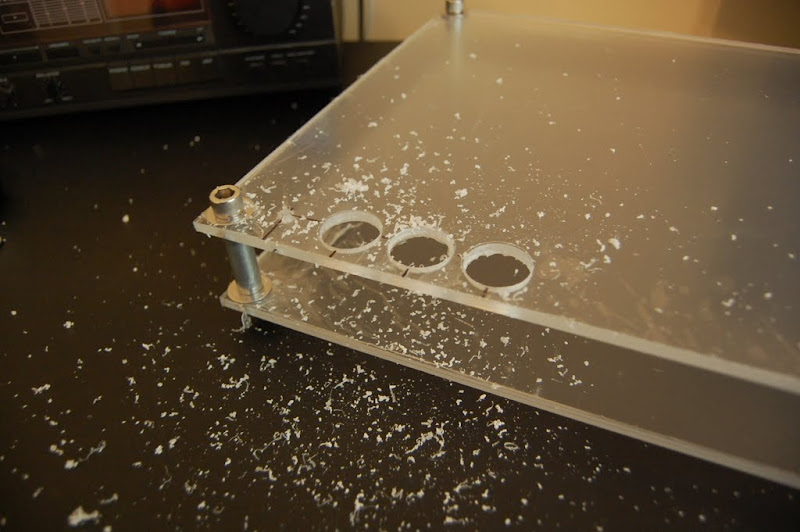
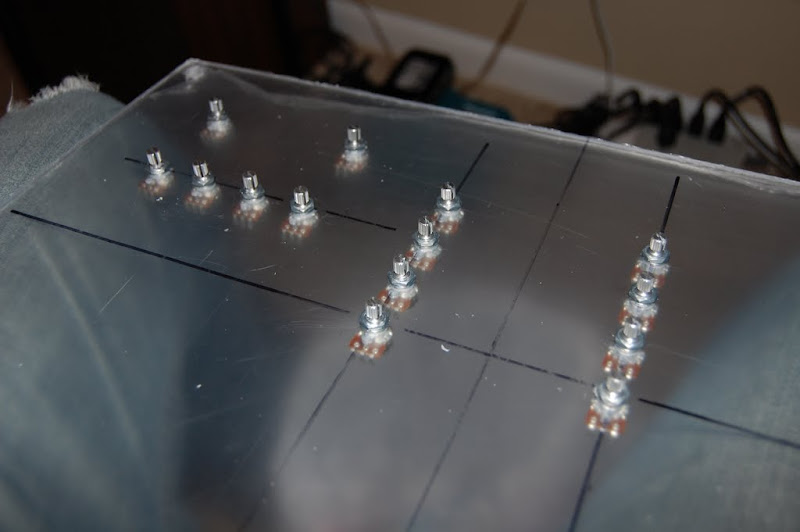
Next I measured and drilled the 5/16 inch holes for the center EQ.
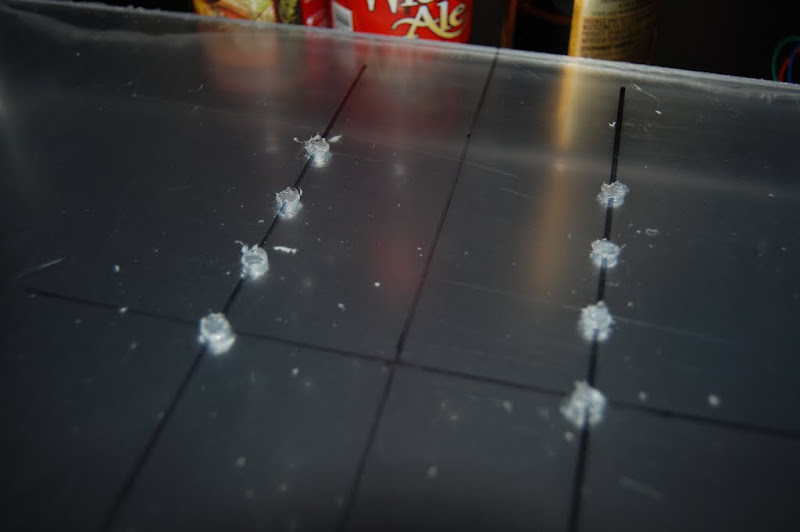
Measuring and eyeballing the FX knobs.
All the EQ and FX holes are drilled.

They look rough, but its just the plastic film that covers the acryllic. Here you can also see the small hole I drilled to a depth of about 1/16th inch for the locating pin on the 10k Pots.
Beer break!

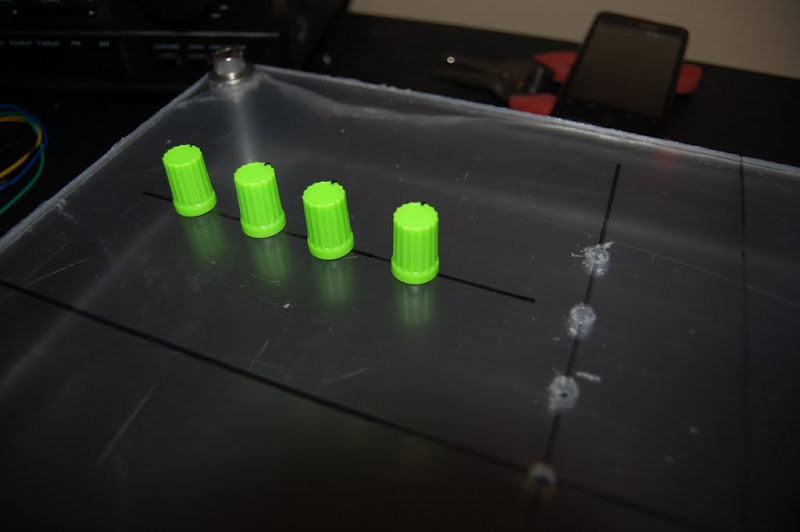
Mounting the 10k Pots.

All the 10k Pots are in.
Micro ATX power supply mounted. This will supply 12v for accessories and possibly lighting, 5v for the powered USB hub, and 3.3v for LEDs and any additional components that require low voltage. It uses an external brick that supplies 12v DC @ 5 amps. More than enough juice.

Top panel in place with power supply.
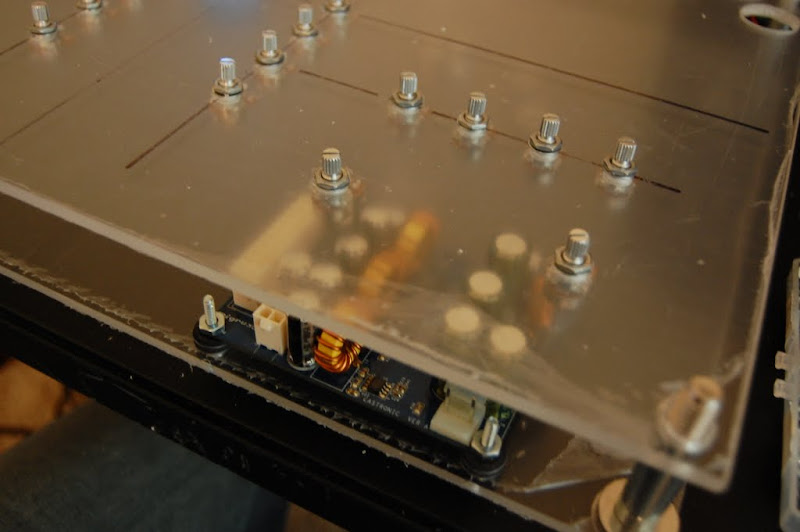
It's close, but there's room to spare.

Mounted the UHID board right in the middle of the bottom panel.

--------------------
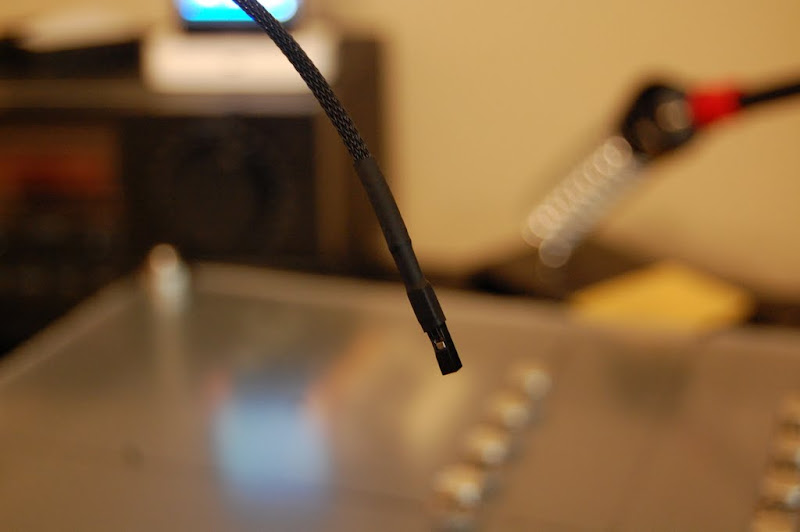
Time to get started with the wiring. First task is to connect ground wires for the arcade buttons. The UHID board works by watching for it's input pins to be pulled to ground, so all of the arcade buttons can easily share one grounding pin. I will then connect each of the other terminals on the buttons to their own input pins on the UHID. Here I have soldered on the first set of ground wires.

1/8 inch sleeving and heat shrink in place. I like the look of the sleeving!
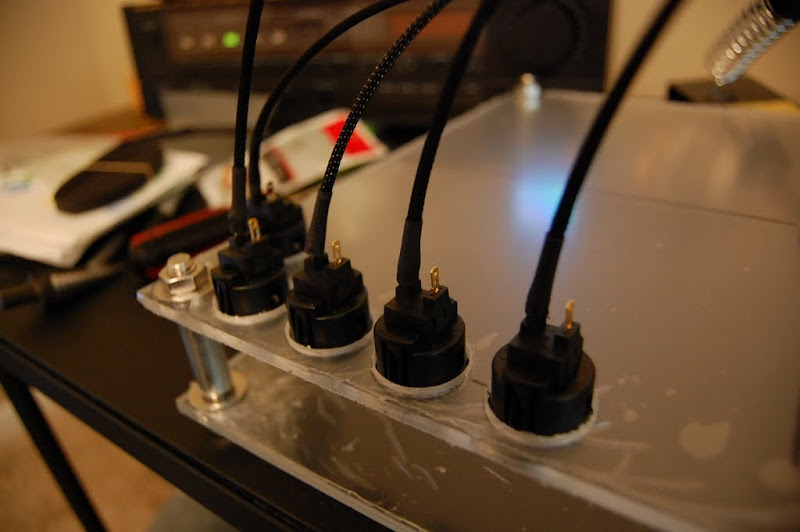
And the first grounding spider is fully assembled
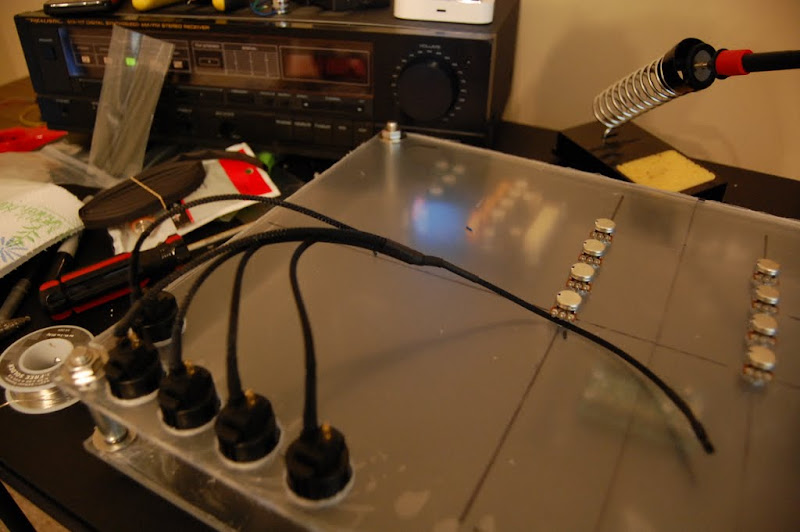
I cut one of the jumper wires from Sparkfun in half, and soldered it to the spider. Sleeved with heat shrink of course!

--------------------
That's it for now! Both arcade button ground spiders are assembled. Next weekend I will work on wiring the 10k Pots. So far so good!
I also did some testing with the UHID and Rejoice. M-Joy is not going to work, so I had to find a different HID-MIDI converter. Rejoice works like a CHAMP! I can't wait to finish this controller and put it to work!-Matt Z
DIY'er - Gadget Freak - Gearhead
-
08-22-2010, 02:33 PM #30Tech Guru

- Join Date
- Mar 2010
- Location
- Dubai, UAE
- Posts
- 1,801
great job so far!
 Dj F.a.R.h.A.n
hip hop, house, reggaeton, dancehall, afrobeats, and international.


 Reply With Quote
 Posting Permissions
|
|
© 2023 DJTechTools
Bookmarks