
that thing looks so wicked so far!!! can't wait to see the finished product


Results 61 to 70 of 109
-
09-05-2010, 07:32 PM #61Tech Wizard


- Join Date
- Aug 2010
- Location
- Denver, CO
- Posts
- 29
 Travis TraxVci 100 SE black/\Numark TotalControl/\Toshiba Satellite
 check out my Monthly Podcast "Trax Certified" and download it for FREE!http://soundcloud.com/travis-trax/tr...fied-episode-2
-
09-06-2010, 11:12 AM #62Tech Guru

- Join Date
- May 2009
- Location
- Brighton / Bangkok
- Posts
- 1,386
ah ok - well I guess I'll have to do it using autohotkey instead: Originally Posted by slangemenneske

- use autohotkey to screengrab the 'now playing' section of Traktor when the track changes
- use GOCR cli to convert the screengrab into text (http://www.autohotkey.com/forum/topic4089.html)
- use LCD Smartie to display the track name / artist
- use autohotkey (with midi support - http://www.autohotkey.com/forum/topic4089.html) to detect a toggle button so that you can switch the LCD screen from VU meter to artist/track information.
bit hacky though innit!
OP - would you be willing to upload the source for your LCD Smartie dll plugin you've wrote? (or at least just the dll) - I'm sure there are a lot of people who would like to use an LCD as a VU meter in Traktor =]
-
09-06-2010, 12:09 PM #63Tech Mentor

- Join Date
- Jul 2010
- Location
- Stockholm
- Posts
- 140
Why wont none them LCDkits work with Mac?
-
09-06-2010, 05:37 PM #64Tech Guru
- Join Date
- May 2009
- Location
- Brighton / Bangkok
- Posts
- 1,386
Okay, so I've managed to write an AHK script that selects an area within the Traktor screen, runs an OCR script on any text it finds and finally dump the writing to a txt document. What this means is that by using this script, it's possible to output any writing from within Traktor as a text file, even if the writing appears as an image! The upshot is that it'd be very easy for someone to use this script for a load of different things:
- Twitter / HTML output
- MSN now playing
- LCD screen
will upload something when it's less buggy (the OCR isn't perfect)
-
09-07-2010, 06:40 PM #65Tech Wizard
- Join Date
- Jul 2010
- Posts
- 33
Thanks! Originally Posted by thugbear2005
Not sure actually, i'll have to tally it and add it all up! Originally Posted by oscarjmg
TONS of new pics to post, new post coming! Originally Posted by V-Hoff
Center EQ is going to be (from top to bottom) High, Mid, Low, Filter. I didn't bother with gain knobs. I will probably end up adding a fifth bolt to the center of the panel for support, which seems the best way. I also fully plan on putting a sound card in it.. Originally Posted by athtsak

Thanks man! I can't wait myself! Originally Posted by Travis Trax
I actually like this idea, i'll be following your progress! I am absolutely willing to share the code. It's not pretty, but it is extremely simple and it does work. Gimme a bit and i'll add it as an attachment to another post. Originally Posted by MiL0
Drivers, or lack thereof rather.. Originally Posted by oskars
Looking forward to this actually. Please upload when you feel more ready with it. Originally Posted by MiL0
-Matt Z
DIY'er - Gadget Freak - Gearhead
-
09-07-2010, 08:01 PM #66Tech Wizard
- Join Date
- Jul 2010
- Posts
- 33
First off, new parts!
Futurelec, Sparkfun and U-HID/Ultimarc all delivered. I also picked up small parts from Radio shack. The second Powermate landed too, but I don't have a photo yet. Need to go pick it up.
Small buttons from Futurelec:

Faders from Futurelec:

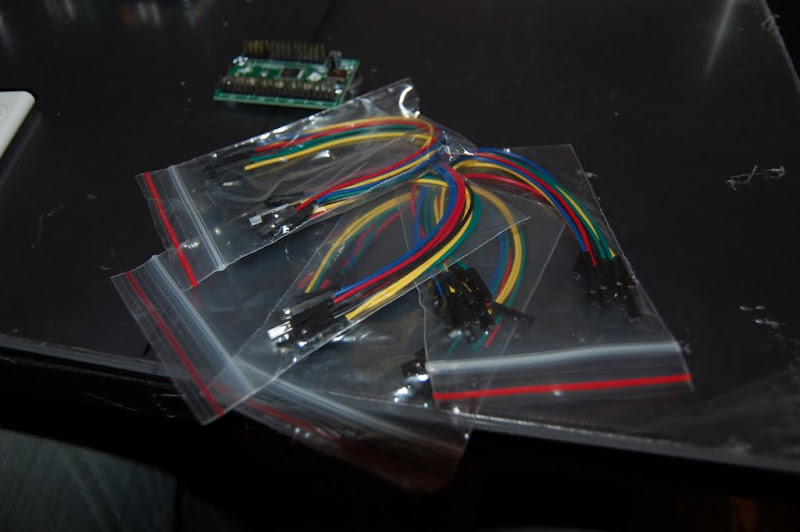
Jumpers from Sparkfun:
Shiny LED holders from Radioshack:

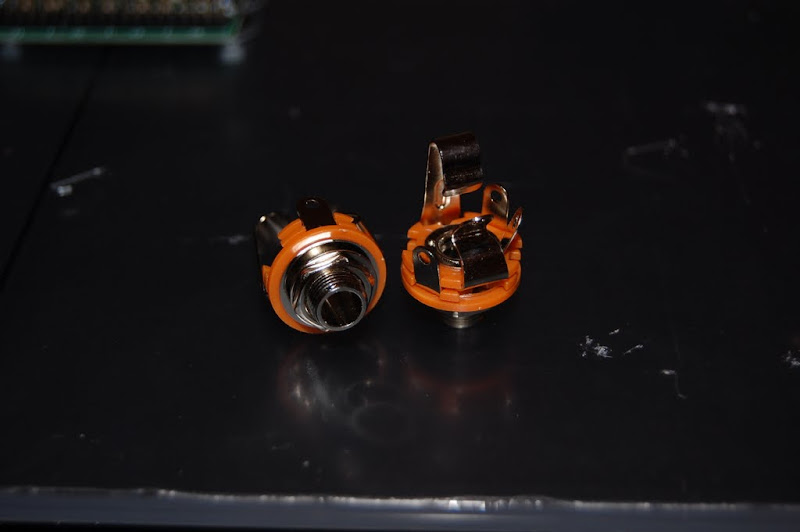
Panel mount headphone jacks from Radioshack:
U-HID Nano boards:

These are REALLY tiny, here's a comparison to one of the DJTT Arcade Buttons:

--------------------
Ok so down to work. I started off by laying out the controls to figure out what kind of configuration I wanted. Began with the FX section.
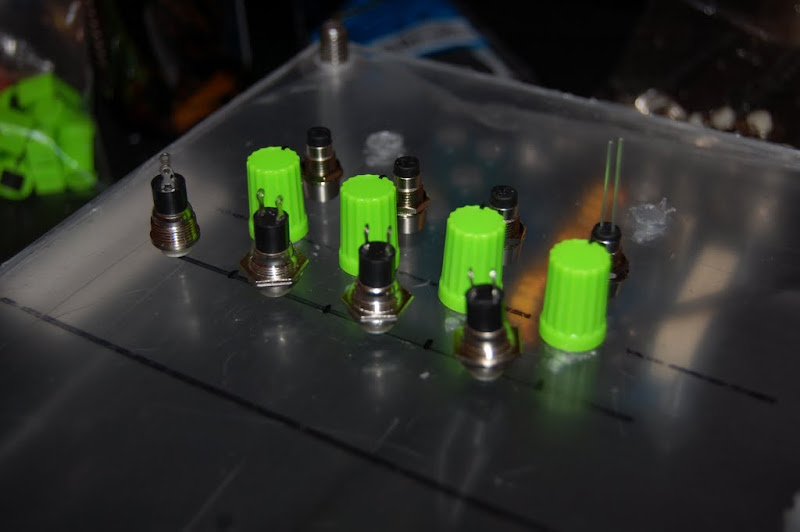
Moved on to the individual decks and misc controls.
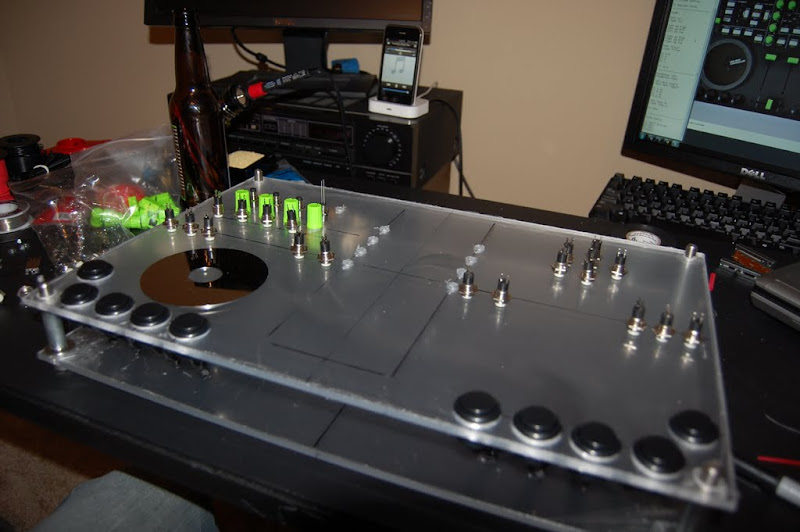
One possibility:

Another, which is actually very close to what I ended up going with:

--------------------
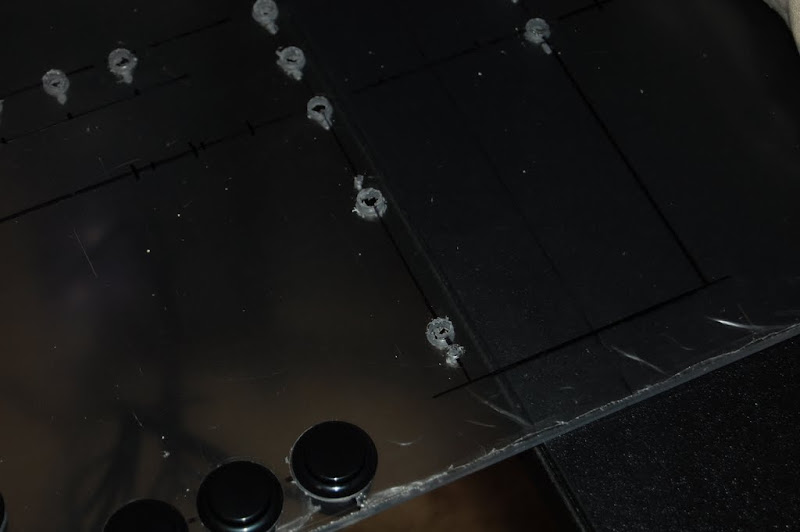
Once I was done brainstorming, I started in on the old panel that I broke for practicing cutting the slots for the faders. I suspected this would probably be the most difficult part of the project and I was NOT let down. It was a muthaf*cka to say the least.
Got started by clamping down a straight edge and drilling a set of pilot holes. At this point it was total experimentation, so I just winged it at first.

Pilot holes:
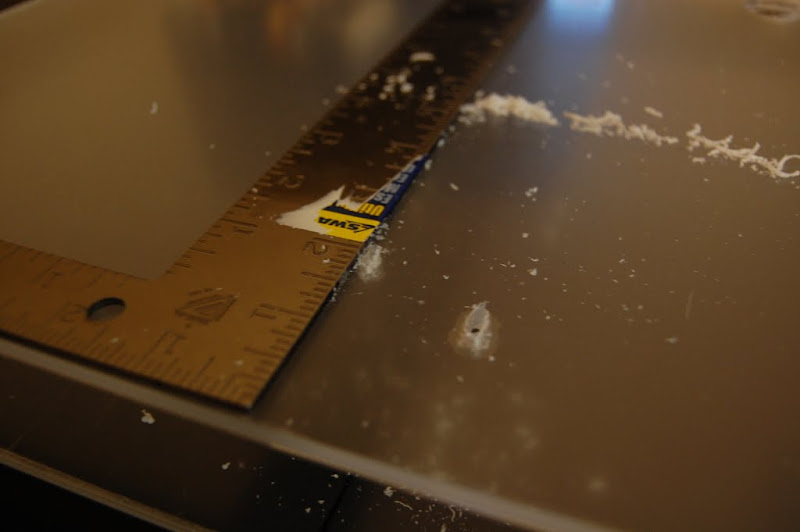
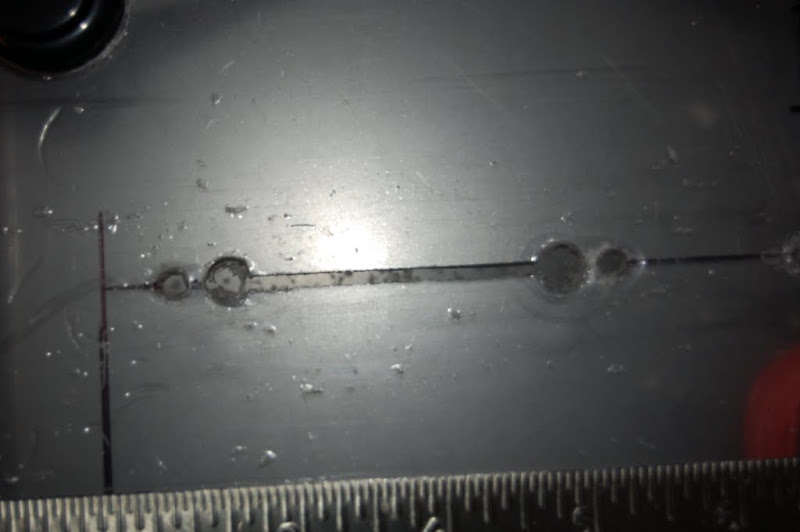
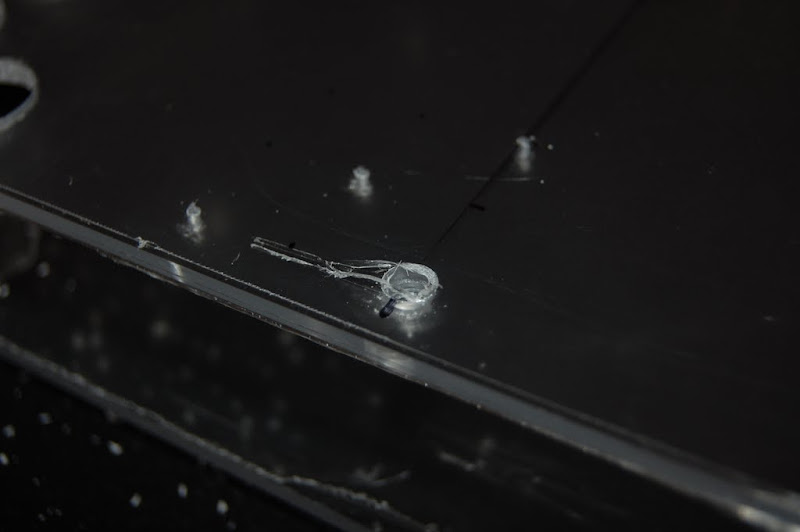
I quickly discovered how horrible a series of pilot holes looked, rather than a single pilot, so I broke out my Unibit and cornholed the original set. The Jigsaw blade required a 5/16" pilot. Once that was drilled, I ran the Jigsaw up a few inches to test how well it would cut the acrylic. Turns out it was pretty easy and surprisingly clean.

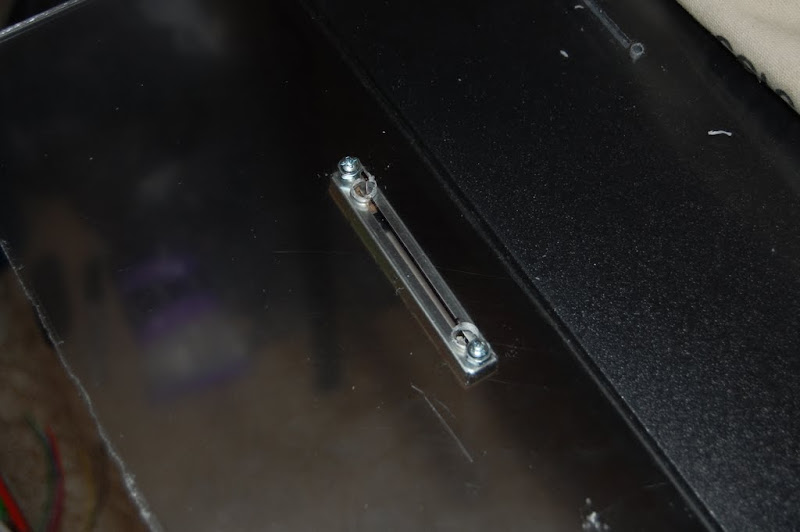
Clean cut!

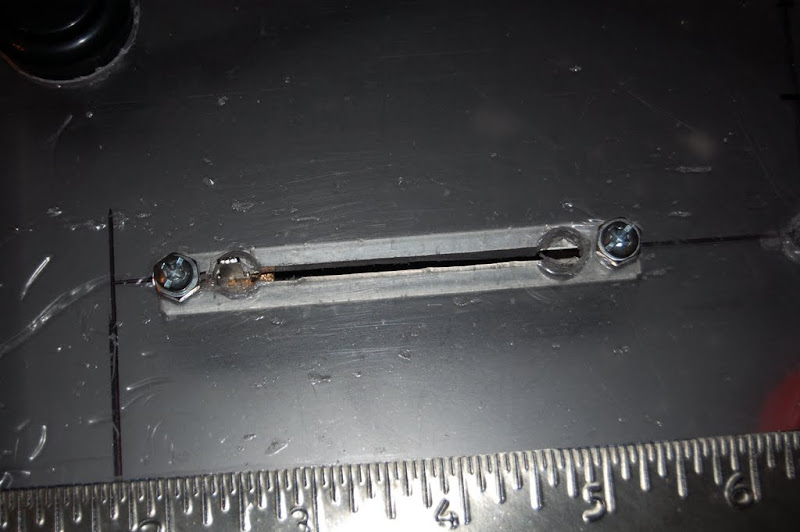
Zinged a couple of mounting holes on the outsides of the cut and attached a fader. This may not be so bad afterall!

I removed the fader and cut a matching pilot hole at the other end to make it match. One test down, time to do another!
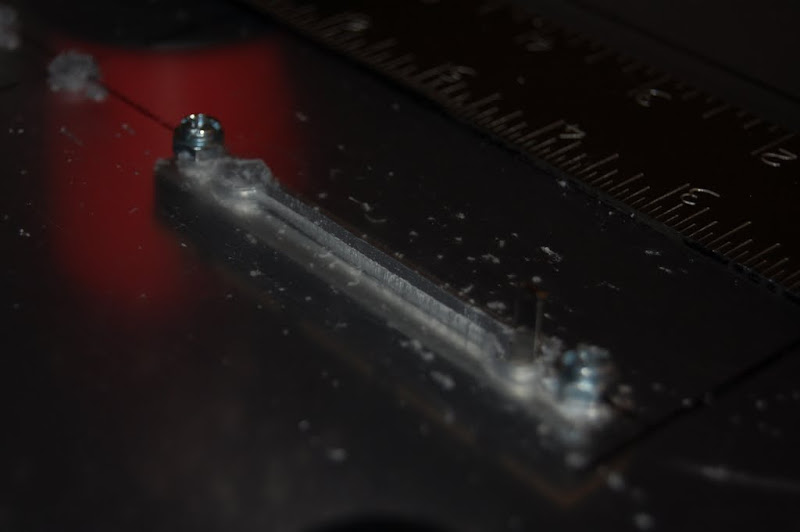
Drilled another pilot hole. This time I just went right in with the Unibit on both ends to start with. Clamped down the straight edge and went at it!
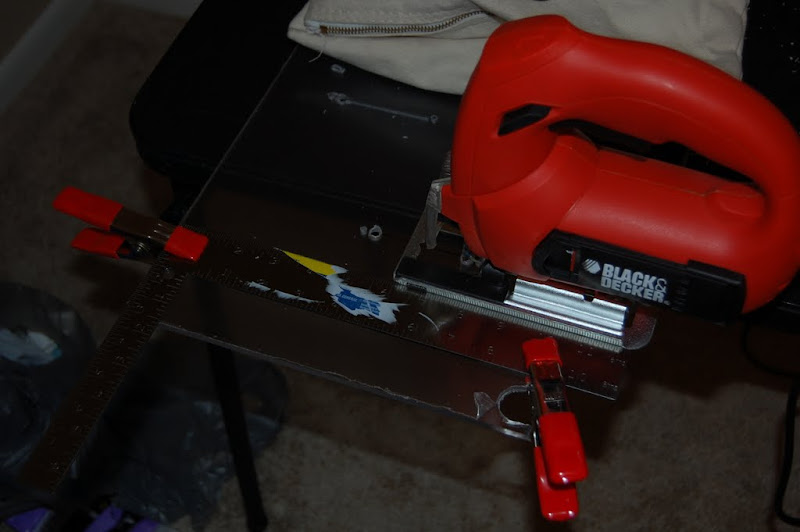
And good god was it a disaster...

... or so I thought. It actually ended up being the winner, I figured out how to compensate for the Jigsaw blades drift and also how to shave the cut to make it a little wider and also straight.
Time to do it for real! Measuring the panel.

Drilled the pilot holes for the cut and also the mounting holes.
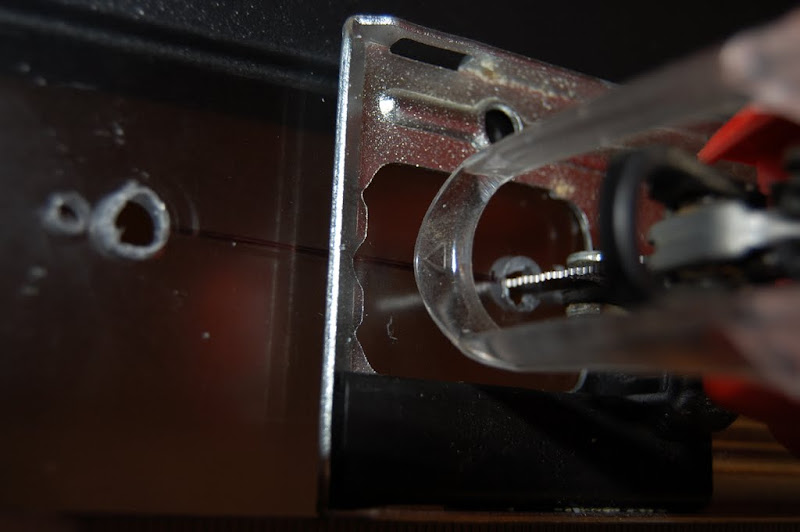
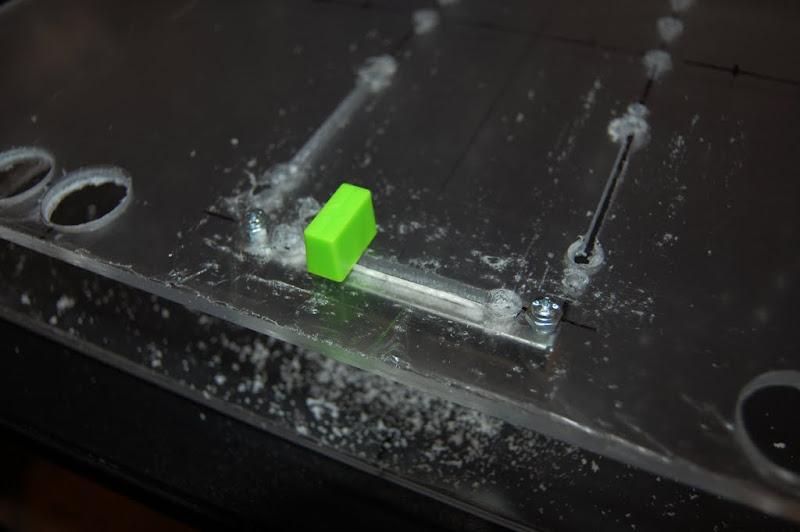
And one down!
Fader mounted.
Two down, faders mounted.
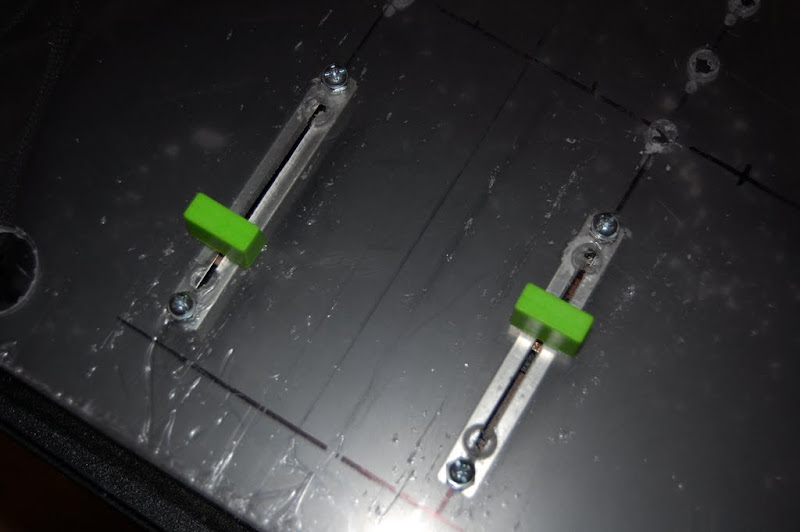

Three down, crossfader mounted. Bwahahaha this is gonna be so awesome!
--------------------
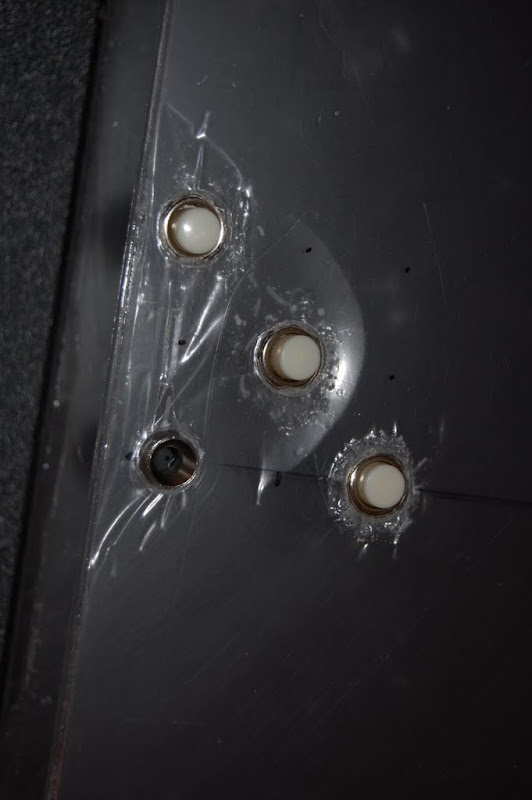
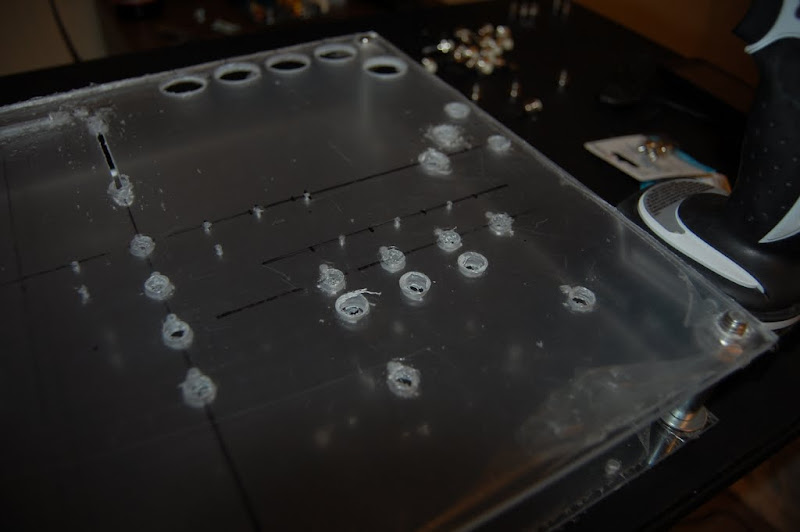
Getting started drilling the small controls and LEDs.
Small buttons and an LED holder in place.
Both deck corner controls drilled.
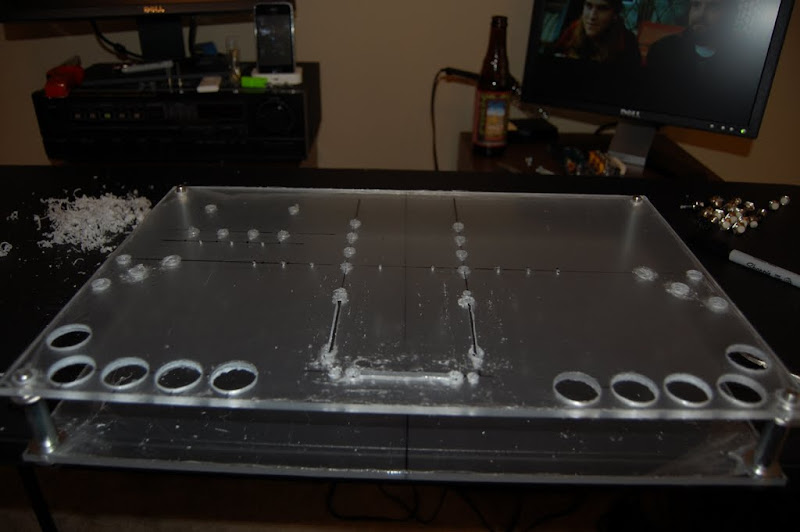
Measured and drilled pilot holes in the FX section.
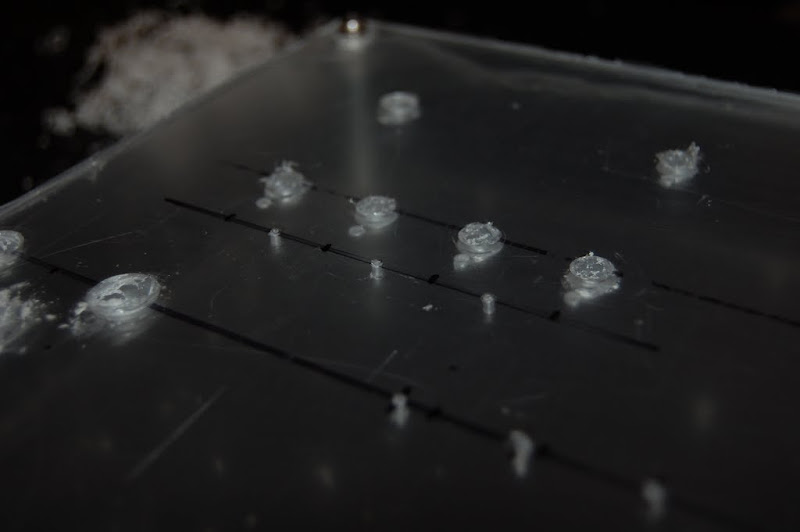
Placing the other LED holders to check spacing and measurments.
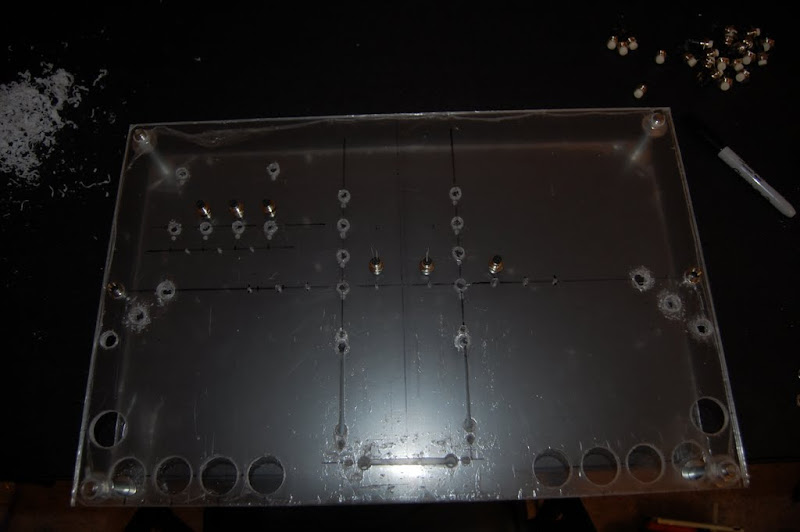
FX section LEDs ready to go.
--------------------
That's it for now. Should have all the controls, LEDs and at least some wiring done tomorrow.
More to come!-Matt Z
DIY'er - Gadget Freak - Gearhead
-
09-07-2010, 11:03 PM #67Banhammerized

- Join Date
- Jul 2010
- Posts
- 3,973
as usual, very awesome
i would have screwed up the faders had i done it lol
-
09-08-2010, 12:45 PM #68Tech Guru
- Join Date
- May 2009
- Location
- Brighton / Bangkok
- Posts
- 1,386
nice one - some good progress there

why are you using 2 x Uhid Nano boards instead of just one regular board? Is 16 inputs gonna be enough? or do u have a regular board as well?
regarding the OCR thing - I've got it working but its very temperamental... sometimes it doesn't detect anything and other times it gets a character wrong ("B" mixed up with "8" for example). I'll upload what I've done in the next few days and perhaps someone can improve it...
-
09-09-2010, 06:43 AM #69Tech Mentor

- Join Date
- May 2009
- Location
- Munich
- Posts
- 412
looks really sweet by now. be careful not to drill too many holes 'n stuff, as the acrylic will leak durability sooner or later...
-
09-09-2010, 07:02 PM #70Tech Guru
- Join Date
- Dec 2008
- Location
- São Paulo - Brazil
- Posts
- 1,304
I'm not an expert in acrylic, but it sounds a good thing to be worried about. Originally Posted by derschaich


 Reply With Quote
 Posting Permissions
|
|
© 2023 DJTechTools
Bookmarks